CRUD Operations with DocumentDB
With most applications, you will need a way to manage the data, and as you know you must then be able to handle the basic CRUD operations on your data. DocumentDB gives you very easy ways of doing this with various SDK's.
For this series I'll be using the .Net SDK since I'll be using DocumentDB with WebApi. This SDK offers various methods for managing data including the familiar Linq Lambda syntax. This is what I'll be using in the RepositoryBase class.
But first I wanted to show the UI and what you can do with it for this application.
Managing Golf Clubs
Let's first look at managing golf clubs. Like any normal application, you will need to handle all operations on golf clubs, their golf courses, and the tees for each golf course. Even though we aren't working with data from a relational database, the process of managing data from any level in the document is pretty straight-forward.
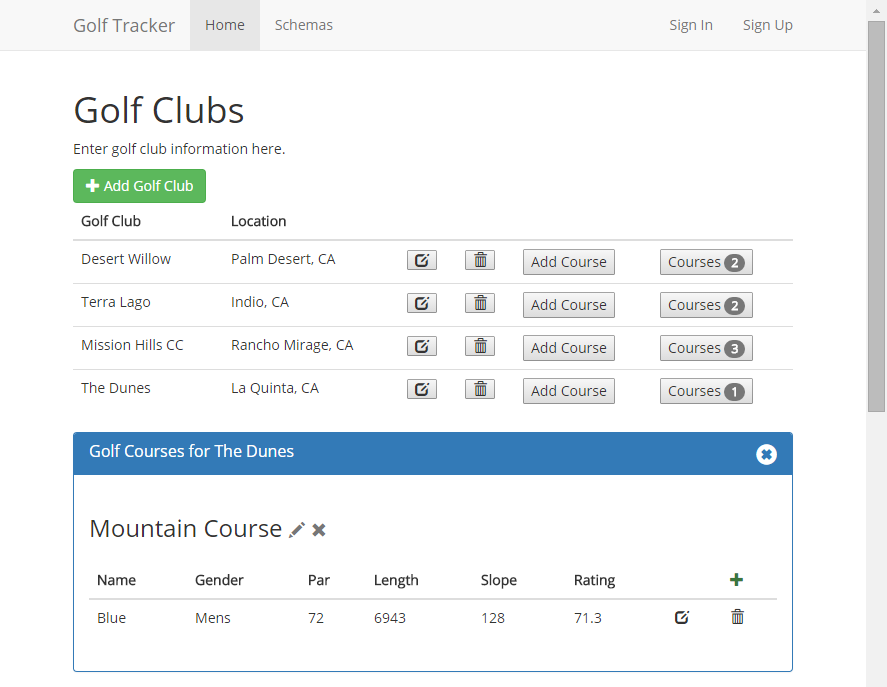
This is the primary UI for the Golf Clubs. It's just a table list of clubs with buttons for editing.

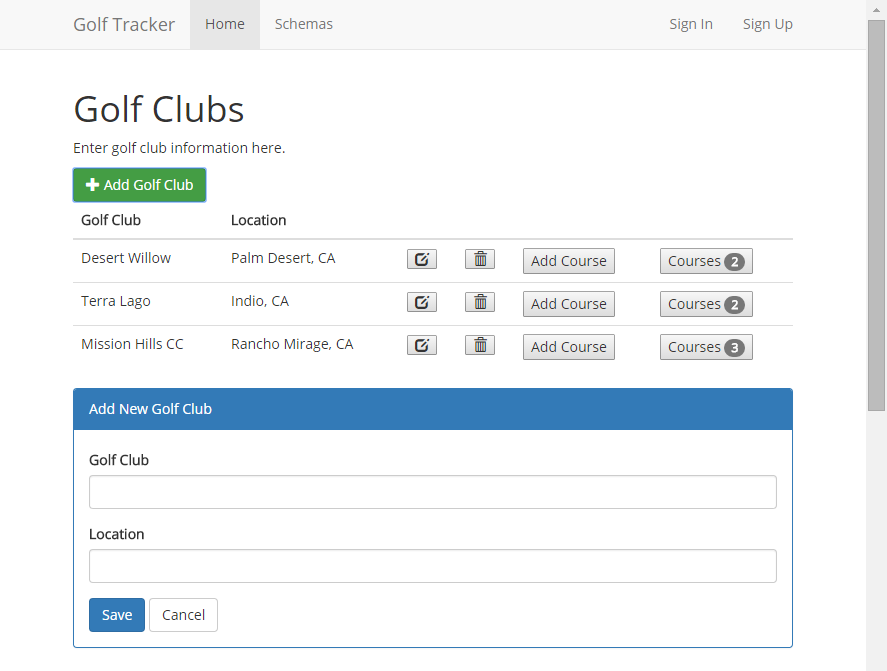
Then we enter the name of the club and it's location and click "Save".
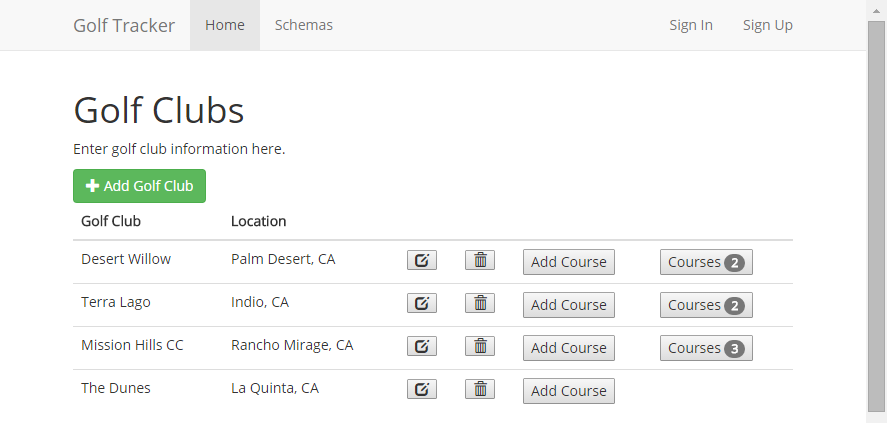
Once the golf club is added, we still need to add the golf course. We do that by clicking the "Add Course" button on the row for "The Dunes".
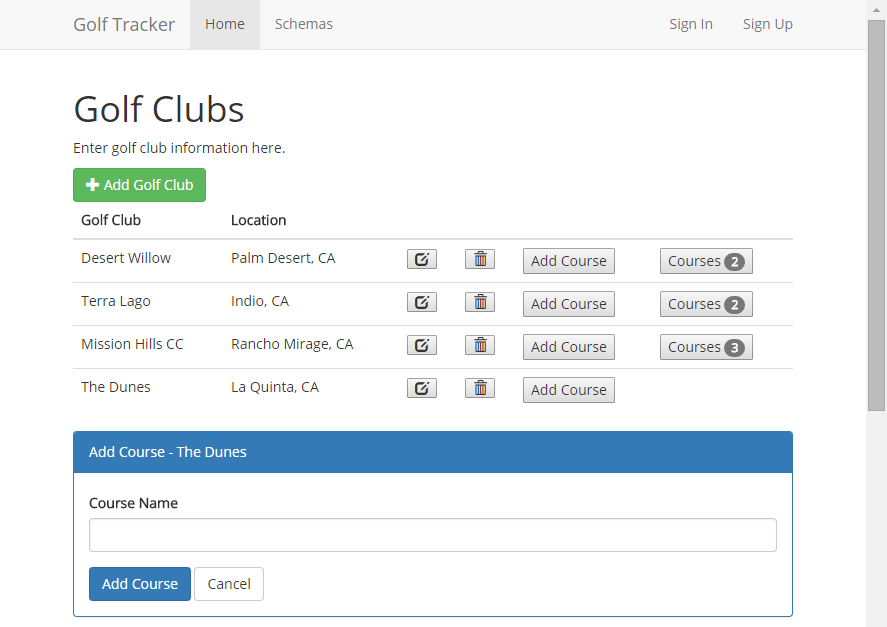
We enter the name of the golf course and click the "Add Course" button. We'll enter, "Mountain Course".
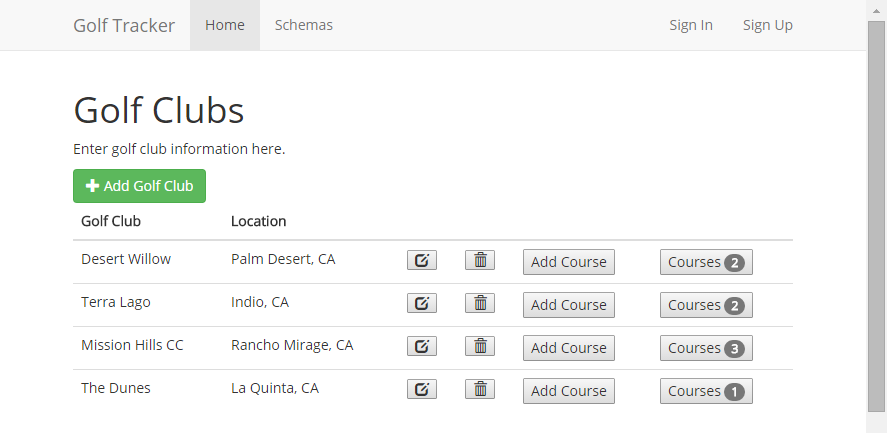
We can see the golf course button now appears with the number of golf courses for this golf club. We still aren't done, every golf course has at least three sets of tees. One for the Ladies, and two for Men of different lengths. Many golf courses these days can have six or more tees for a golf course which provides challenges of varying degrees for any player. In this case we only need to add the tee that the player used during his round.
We'll click the "Courses" button to view the golf courses for this golf club.
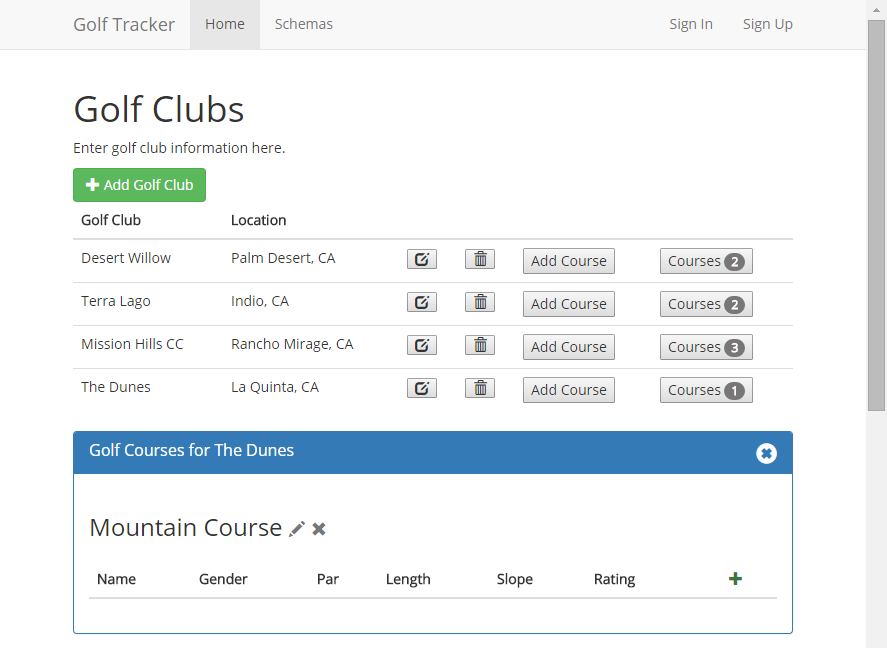
As you can see there aren't any tees created yet, so we'll create one. We do this by clicking the green plus sign (+) at the right of the table heading.
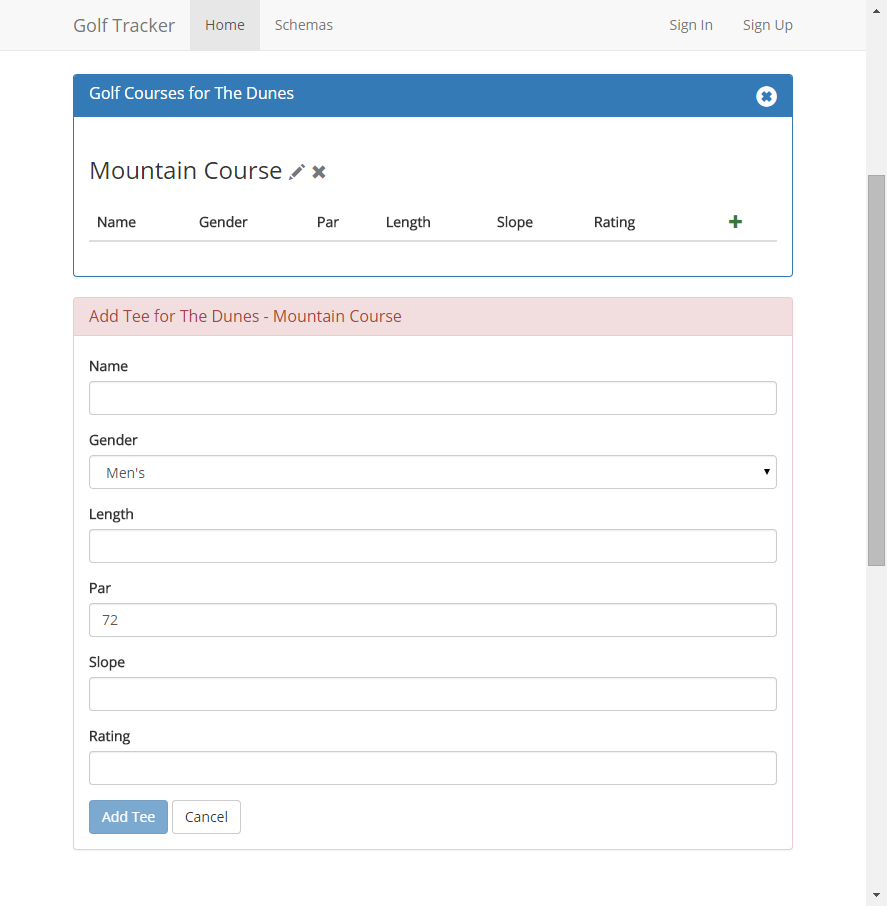
It defaults to Par-72 which can be changed, and set to the Men's tee, which also can be changed. Now we just enter the data for the tee that Joe Golfer played.
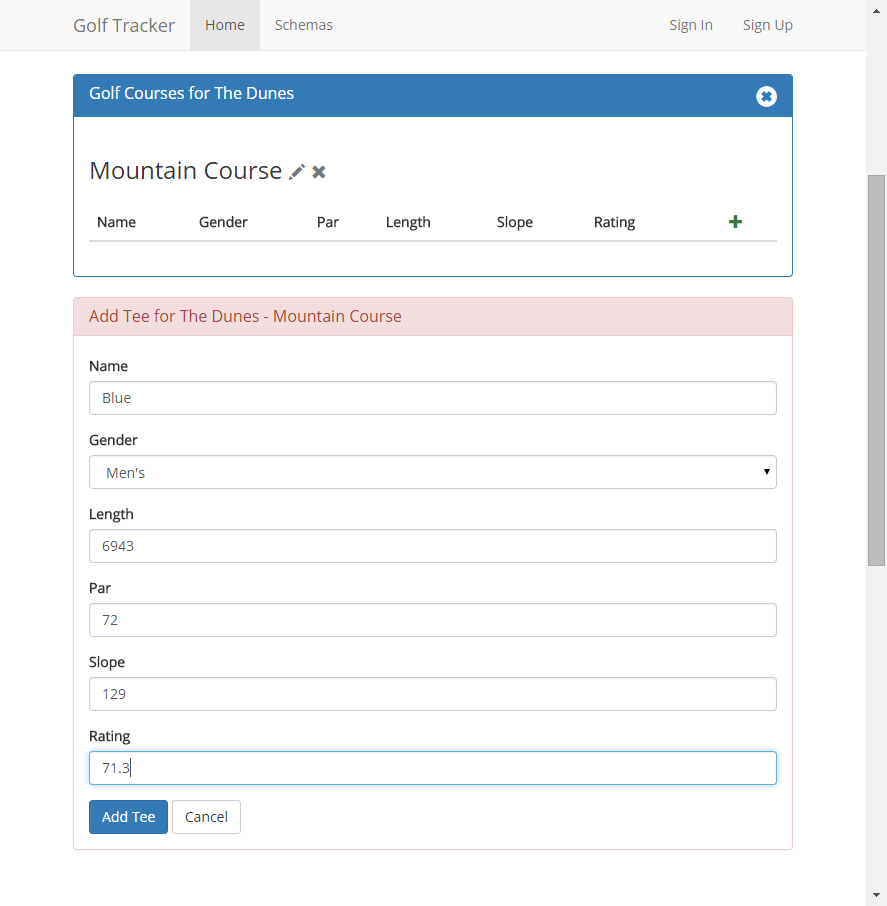
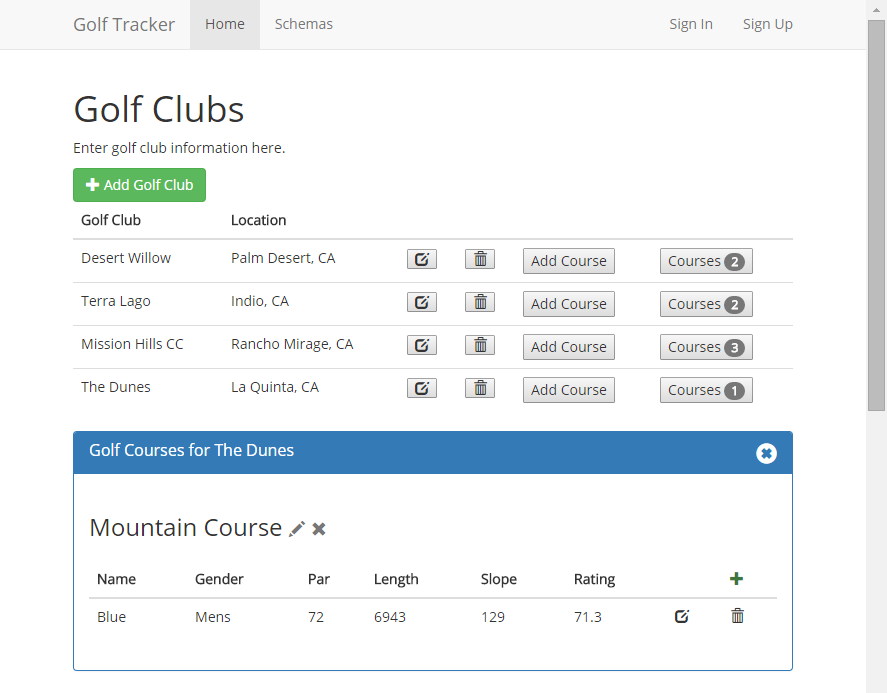
Once we click the "Add Tee" button, the data will be saved to DocumentDB and displayed in the table for the golf course.
At this point, there's enough data entered that we can post the score for the golfer. Let's do that.
We'll go to the "Manage Golfers" section to add a new round of golf for Joe Golfer.

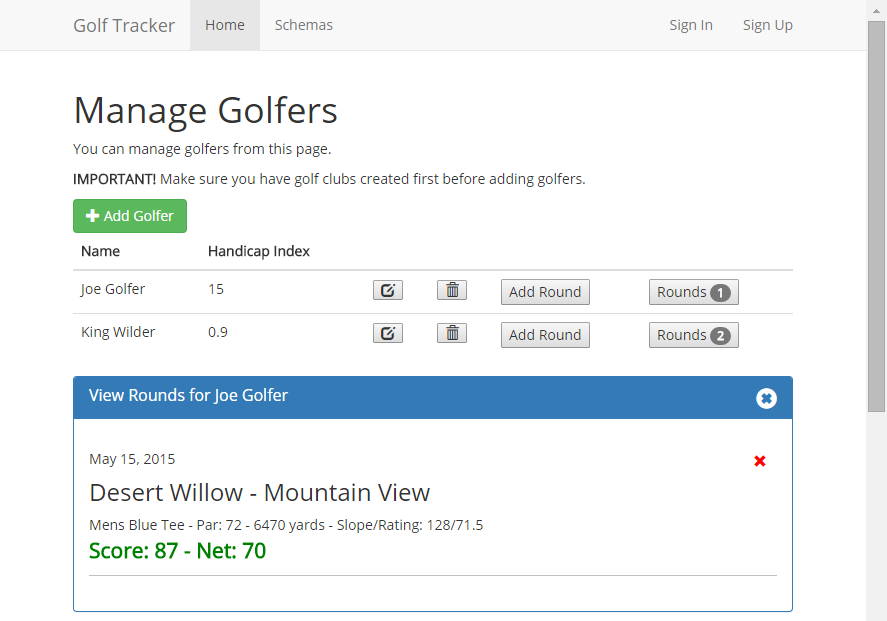
I'll click the "Rounds" button for Joe Golfer to see the rounds he's already played.
In order to add a new round I'll click the "Add Round" button on the Joe Golfer row. This will display the dialog to enter a new round of golf.
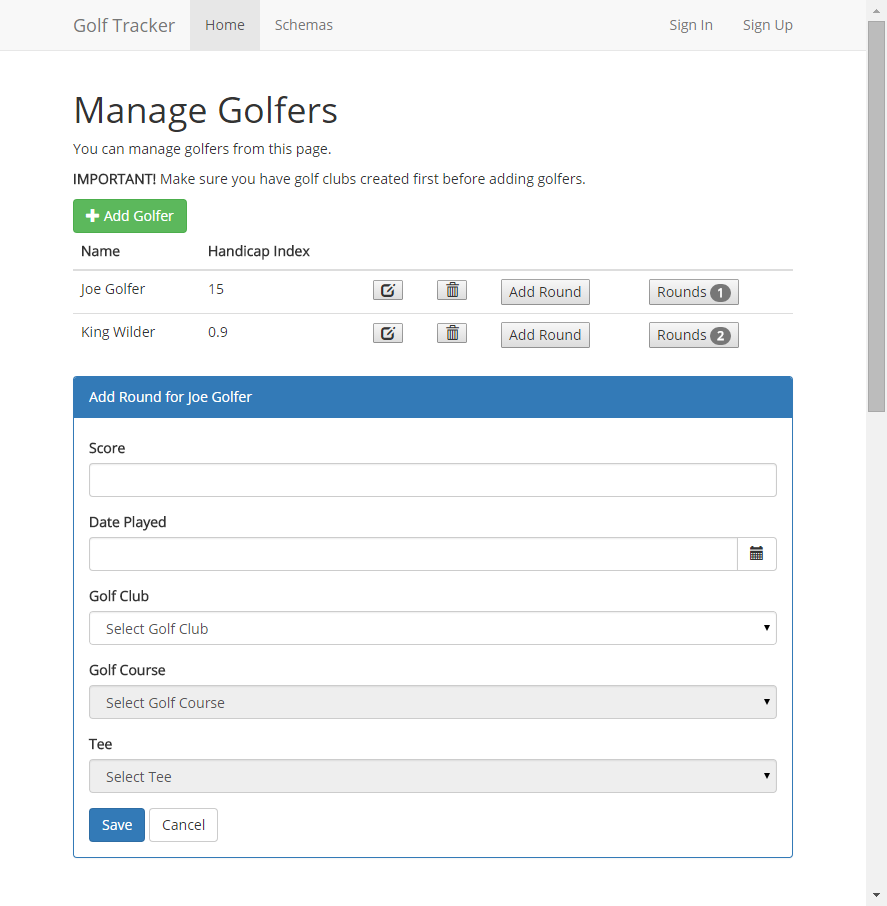
Now I'll enter the values for his round of golf. You'll notice that I've created some cascading dropdowns for the golf club, which will display all the golf courses for that club, and then the last drop down will show all the tees for the selected golf course. So it's pretty quick and easy to enter a new score.
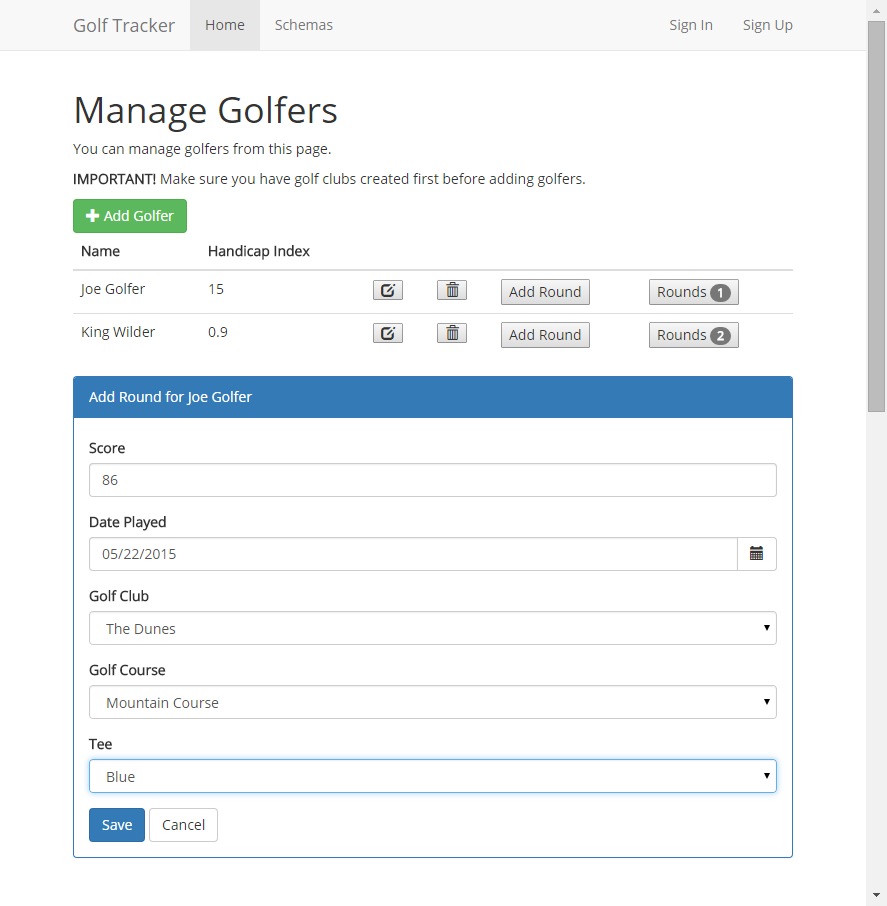
I selected the course we just created and I'll click "Save" to save the data to DocumentDB and update the AngularJS model.

Now we can see he's got two rounds posted and it also calculated his net score.
Edit Data
No CMS is complete without being able to edit data. This application was built to allow for granular management of data at any level of the document. For this example we'll edit some values for the tee we just created.
We'll go back to the Golf Clubs section and click on the golf club to view the list of golf courses and tees.
Now we notice that the slope is wrong so we click the Edit icon on that row to display the Edit Tee dialog.
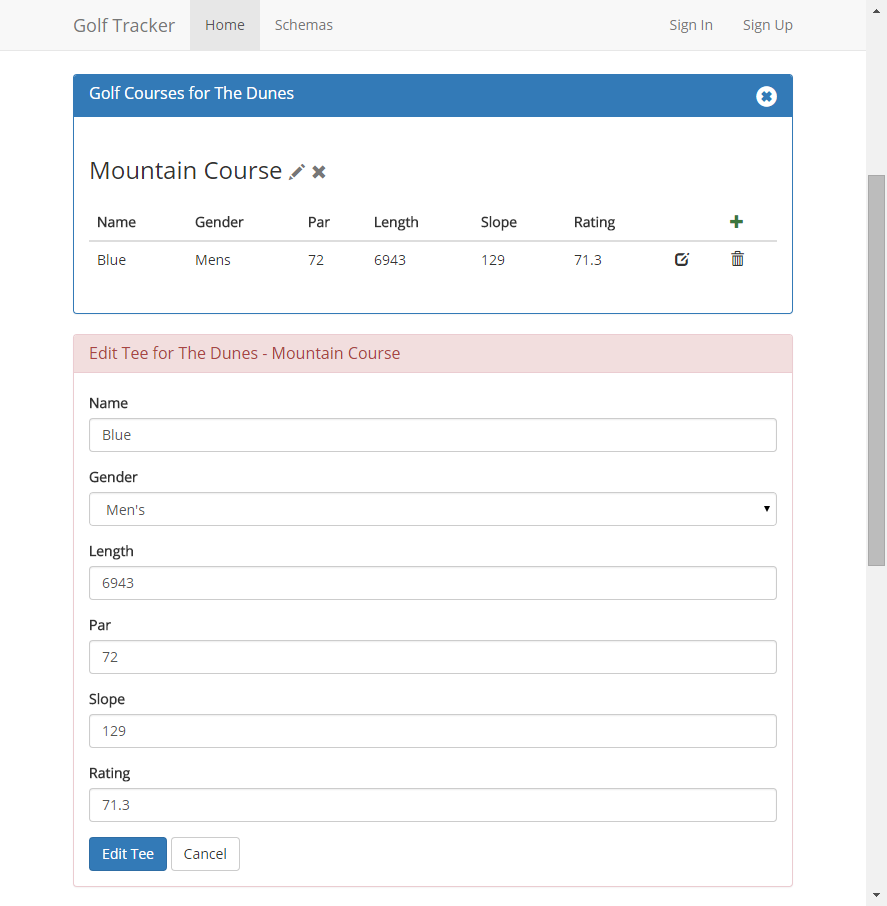
We need to change the slope from 129 to 128. We change the value and then click the "Edit Tee" button and the data is updated in DocumentDB.
Note: when an Update occurs, it's a complete document replacement. At the time of this writing (May 2015) DocumentDB does not have the concept of partial document updates.
Here's the result of the update.
Golf courses from time to time may have their courses recalibrated which would change some values like the slope and rating, but that wouldn't change the course as it played for the golfer on that day. If on the other hand, the slope was entered incorrectly to begin with, then the slope value for Joe Golfers round is incorrect. The easiest way to fix this is to simply delete that round of golf, and re-enter it. It will grab the new values for the golf course and tee, and all will be right with the world.
So on the surface this web application operates like any normal web application should that allows you to manage data, but this is done with DocumentDB.
Summary
I wanted to show in the article how to work with data management in an AngularJS web site that communicates with a WebApi service in a different domain.
Next I'll show you how it all works in the background with AngularJS and WebApi using DocumentDB.